Wednesday, October 10, 2012

Prima Romance Novel Dress Form

Hello again crafters!!!!! We are so excited to share some news we got recently!!!! WE MADE A DESIGN TEAM!!!!!!!!! We are now a guest designer for Bev@ The Piece By Piece!!! We're are designing for the moth of November, we are so happy and excited we can't wait to get started!!!


We also want to share a dress form with a special surprise inside!!!  We finished it in record time!!! Just two days for us to make this!!!! We used tons of stuff from our stash. The collection is Prima's Romance Novel!!! Geezzz this is a gorgeous collection... So here are the pics


Friday, September 28, 2012

Prima Almanac Altered Mirror

We found this mirror at a thrift store and we've past it up a few times. The mirror had a beveled glass over the actual mirror with pressed old flowers in between the layers. Actually the flowers were so old the flowers were actually brown. So I took it home and previously had this idea acout how to alter it. What I had in mind was to take the mirror and sand off the mirror coating on the back. When you do this, you end up with just see thru glass. So after mapping out where I wanted to sand and how far in I wanted to go. I started the process. After sanding the mirror clear, I glued paper and lace to the back so it would show thru. I picked laces that went with whatever paper collection I used. Then I used a Jenny Bolin lady silhouette rub on. I placed it on the mirror then, wiped my finger prints off the mirror and placed the beveled glass over the mirror. The mirror came with a silver rim, it was very pliable. So I molded it around the edge of both pieces. I then pierced the holes to hand the chain and decorated the chain.
Next came the most exciting part!!! Decorating the front!! Yay don't you agree it's the best part. We love it!!! So I layed down this metal mesh, it got from the hardware store. Thanks to Miranda were addicted to METAL!! So then I colored flowers according to what the LSG blog suggested for the Almanac collection. Then I starting arranging and gluing. The back we finished up with black burlap, and to cover all of the glued paper and lace I cut a piece of cream cardstock to size. And this is the master piece we came up with. We entered this project to Bev at The Piece By Piece for her design team call. We wish everyone good luck!!! Thank you for visiting and come back soon, we have another altered mirror in the works. Enjoy!!! Hugs - Natalie/ Cydney


Prima Tea Thyme Myteddyboo Teapot Album!!!


We ordered this and a few other albums a while back and we were saving it for a beautiful paper line to come along and fit the album. Well Prima released a beautiful stunning collection called Tea Thyme. We fell in love with this collection. And it was so easy to work with the theme of the album. We used the journaling cards, the A4 paper, the collections flowers, and the chipboard pieces. We loved making this and can't wait to start on our next Myteddyboo album. Enjoy, let us know what you think!

Tuesday, June 19, 2012

Prima Almanac Collection 12x12 Layout

I have grown to love Prima Marketing. When the Printery Collection came out I was totally struck by that collection. My sister and I HAD to have that collection. We loved everything about it. My sister loved the mistable diecuts, the dress form chipboard piece I love!!( hehe I'm still hoarding it) 

Well when they came out with the Almanac collection, the online stores depicted the colors as orange-ish, beige's and blacks and I wasn't sold. But when I started seeing what people were doing with it!!! Wow I was inspired and just had to get it. When I make a layout I first write down what I want to include in the layout..... such as lace, bling, wood, chipboard pieces, flowers(fabric or mulberry), fussy cut pieces, metals... well you know what ever will make the layout POP!!! 

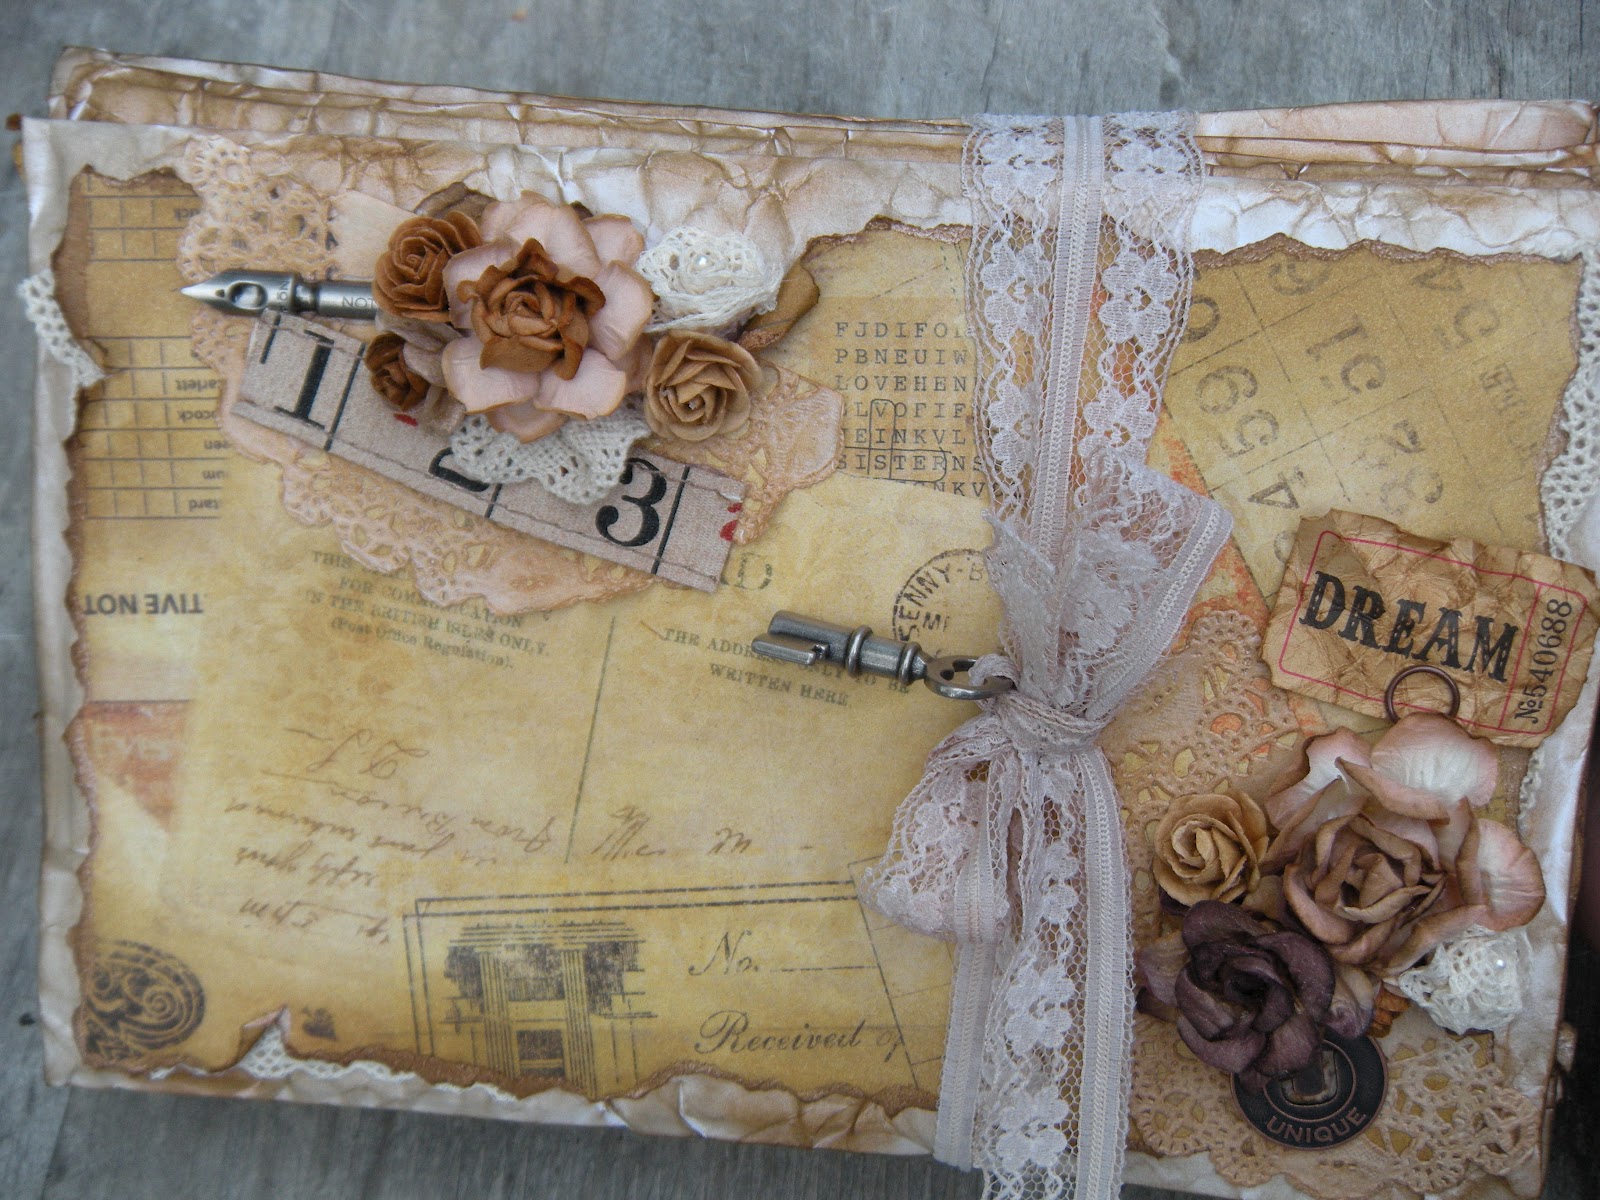
One day our VERY GOOD friend Mataya was talking about layouts and mini's and we decided that we were going to do layouts for each other and  we would send photos of what we wanted to be memorialized. So we sent her a couple of photos of us that we recently took, she sent us a few of her and her hubs. Well as I started to put pieces of the layout together the project came ALIVE and this is what we sent her........


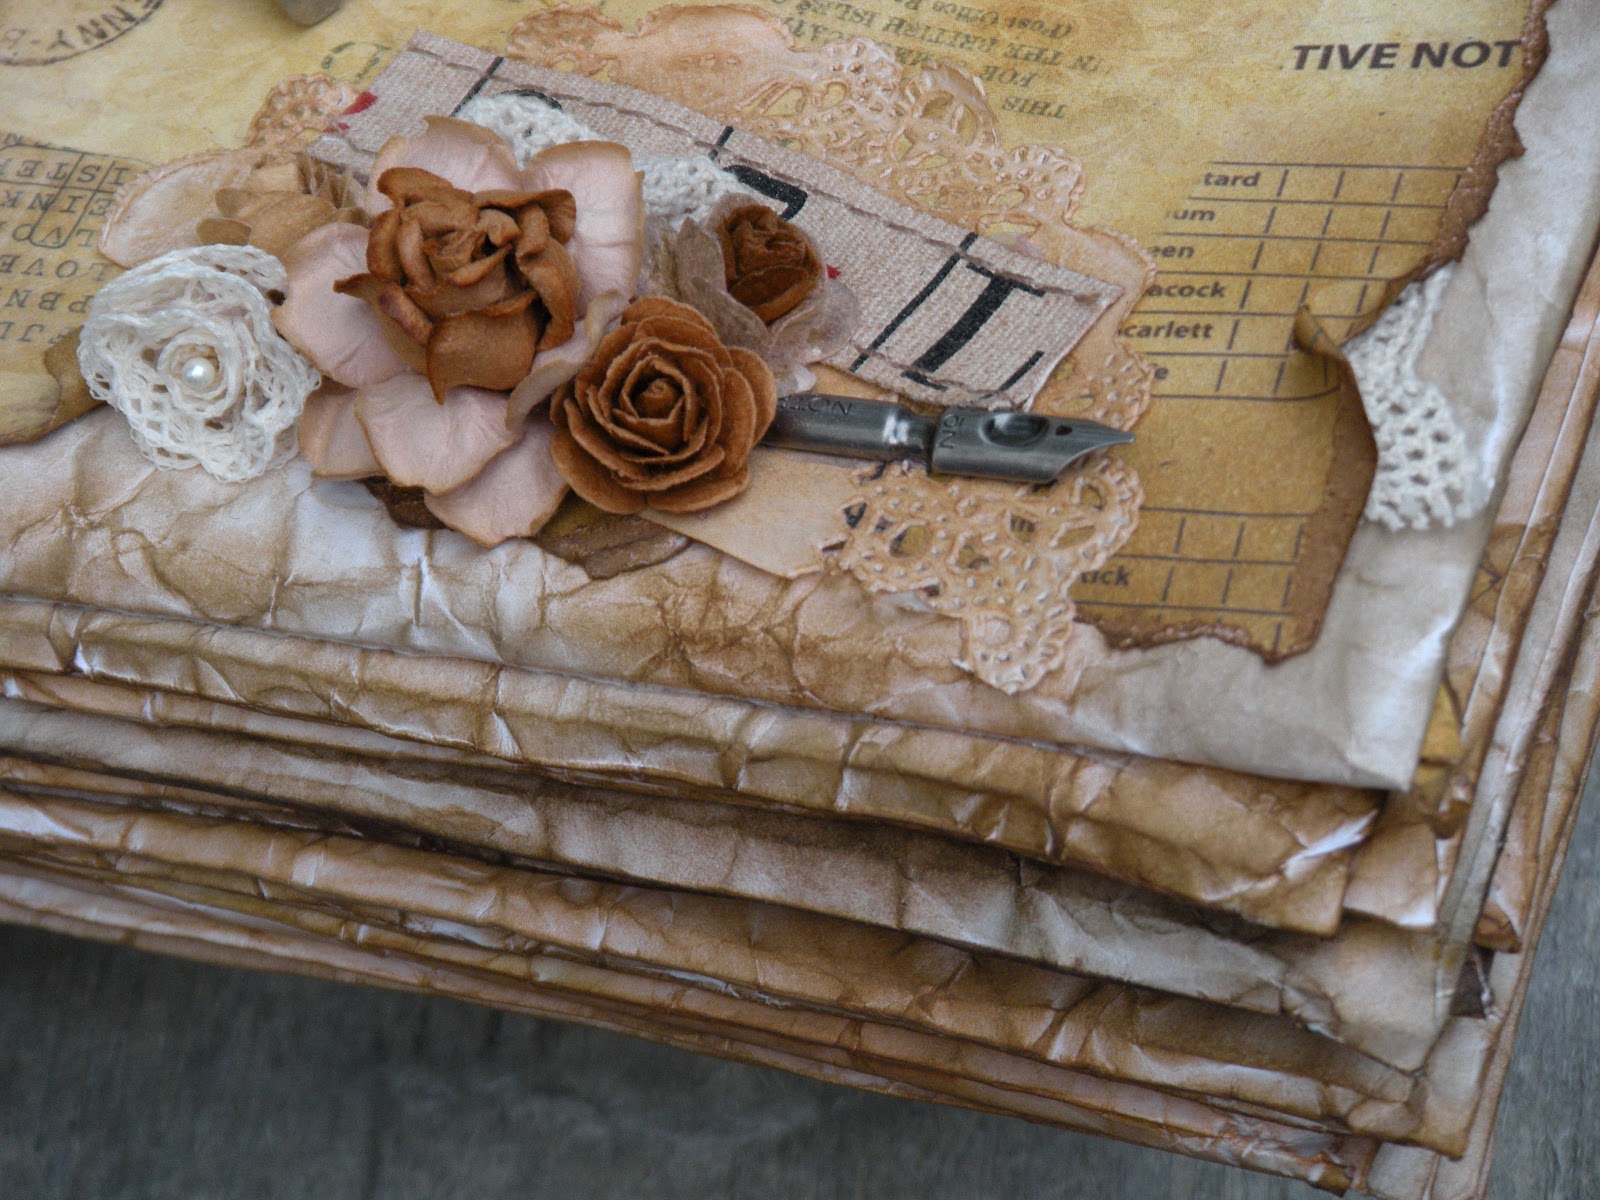
I did some chicken wire masking in pink and black. I did some stitching on the edges with our sewing machine. I laid down the lace and started layering, or piling up almost everything I had picked out to work with. I pulled inspiration from all of the master pieces I have seen use this collection. When it was done I took pictures and emailed Mataya and couldn't wait to get it out to her. She has been such a great friend to us. We used to live in South Dakota and I truly miss the midwest and I wish I would of found our friendship while we still lived in South Dakota. Thank you for stopping by!!!! 

Have a great day ;) Smiles

Natalie

Thursday, May 31, 2012

Timeless Keepsake Box

Hey everyone! 

Again, sorry for the hiatus! Natalie and I have been so crazy with numerous projects that we've been trying to complete each one little by little! One of the ones we have recently completed, is the keepsake box using Bo Bunny's Et Cetera papers. We used the standard 6x9 envelopes, crinkled them and distressed the heck out of them with Vintage Photo, Tea Dye, Frayed Burlap and Walnut Distress Ink by Tim Holtz. We then stuffed the envelopes with cardboard that was cut to size and kinda stacked to make it look like a stack of old letters. We scraplifted the idea from Msliberty25's Youtube channel, in which she made a similar one with the Prima Printery Almanac collection.


We then took two envelopes aside which were for the top and the bottom of the box while the others we had cut out the middle. We then glued each envelope together except for the top envelope and used the vintage lace as a closure. 


We had so much fun making this! We'll definitely be making more of these in the future! Thanks for dropping by! Scroll down further to see a video of this keepsake box!