Thursday, May 31, 2012

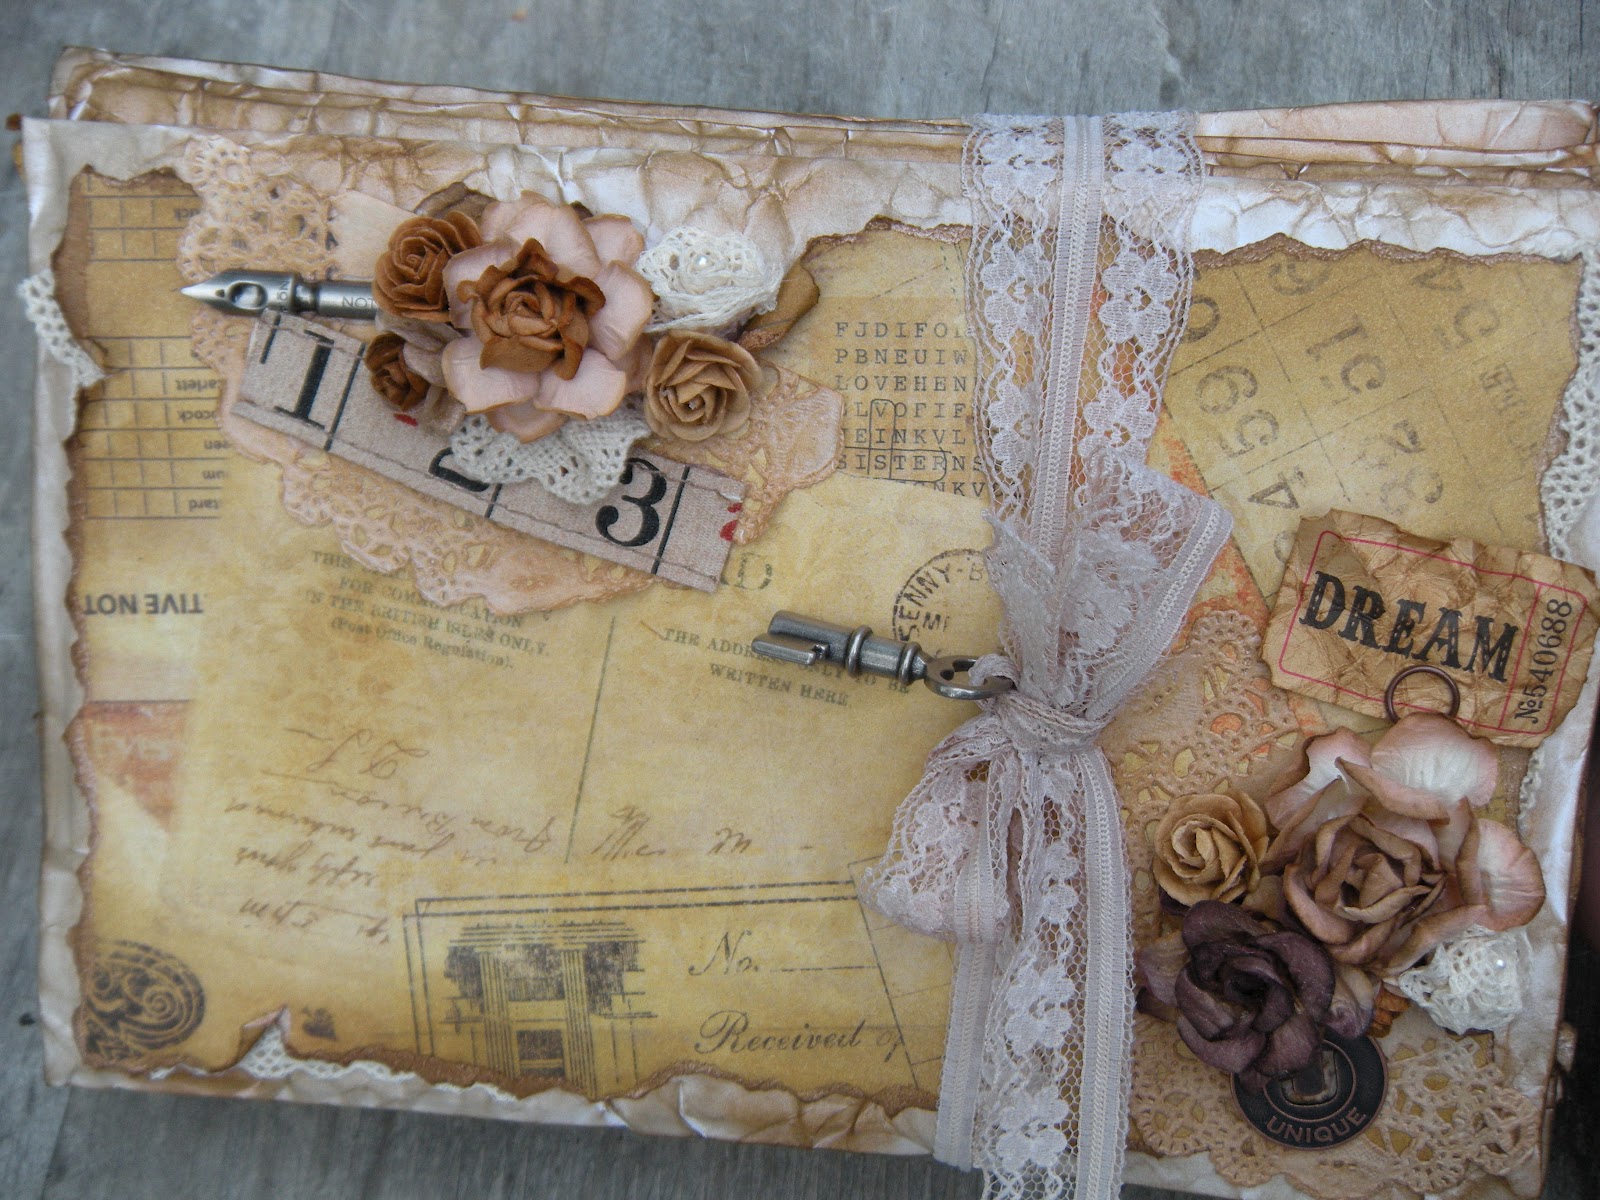
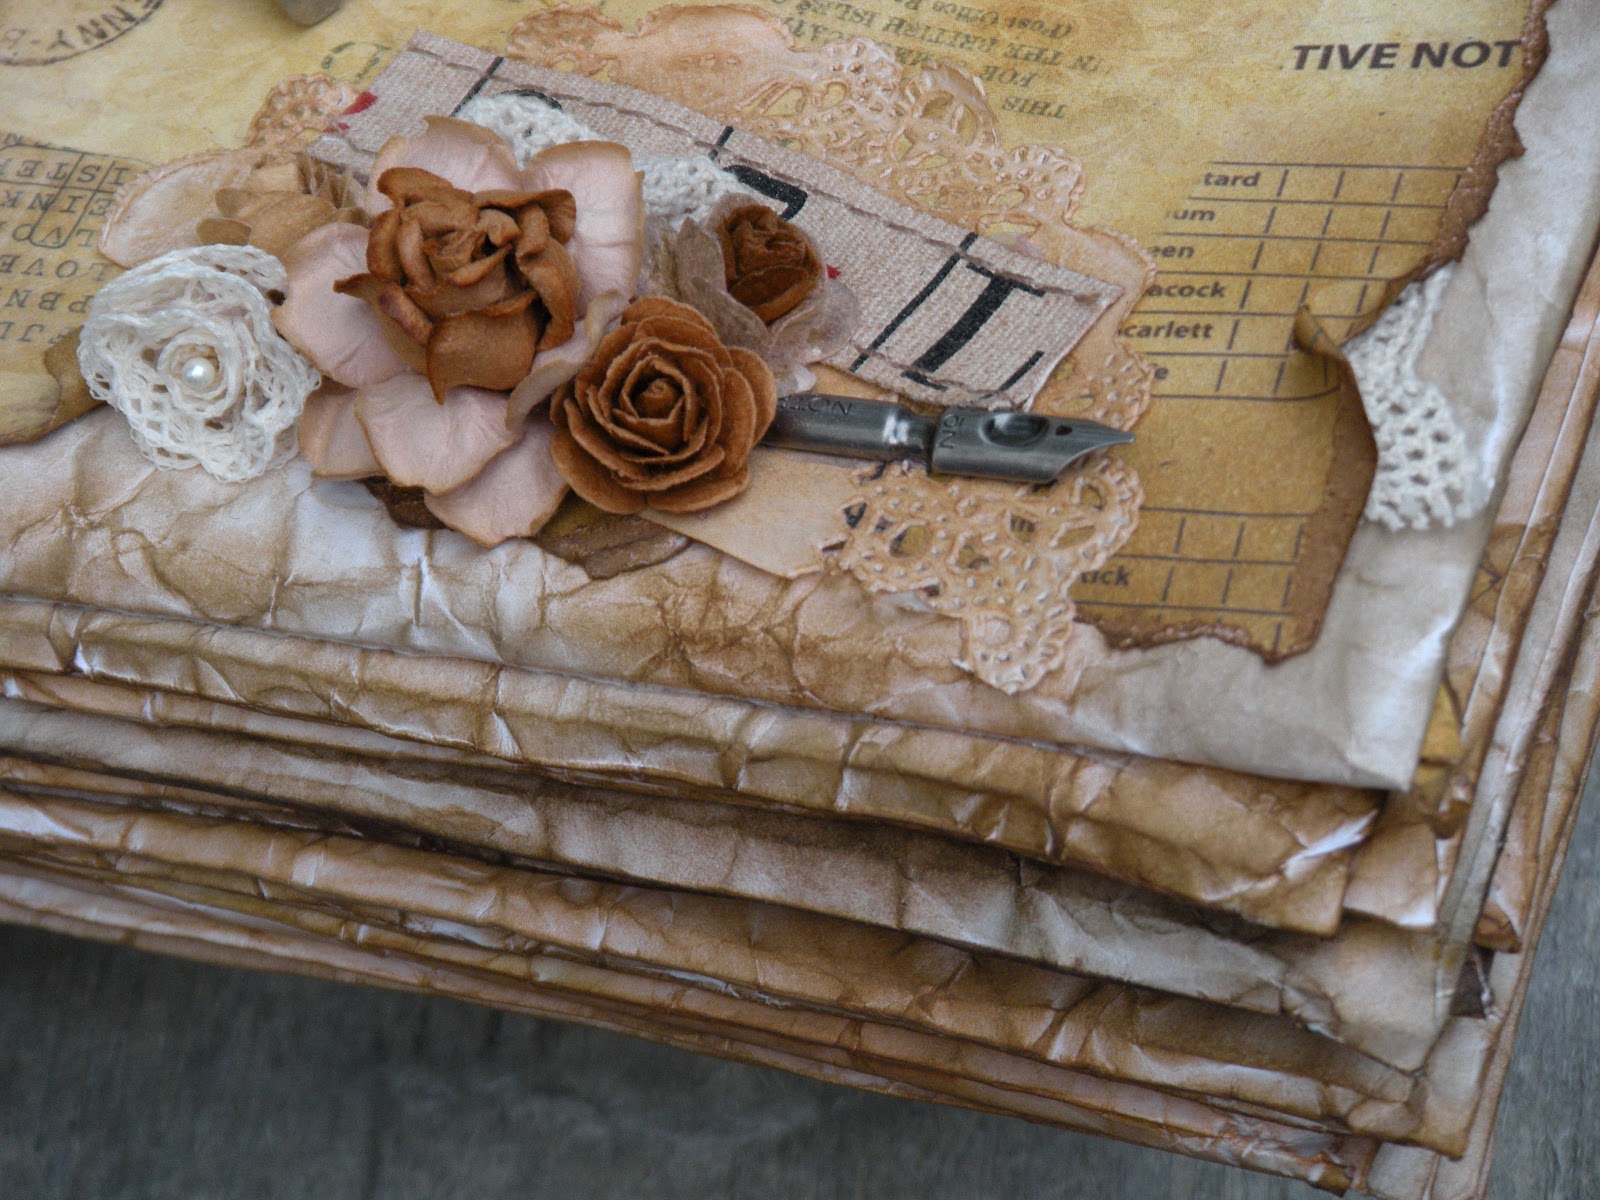
Timeless Keepsake Box

Hey everyone! 

Again, sorry for the hiatus! Natalie and I have been so crazy with numerous projects that we've been trying to complete each one little by little! One of the ones we have recently completed, is the keepsake box using Bo Bunny's Et Cetera papers. We used the standard 6x9 envelopes, crinkled them and distressed the heck out of them with Vintage Photo, Tea Dye, Frayed Burlap and Walnut Distress Ink by Tim Holtz. We then stuffed the envelopes with cardboard that was cut to size and kinda stacked to make it look like a stack of old letters. We scraplifted the idea from Msliberty25's Youtube channel, in which she made a similar one with the Prima Printery Almanac collection.


We then took two envelopes aside which were for the top and the bottom of the box while the others we had cut out the middle. We then glued each envelope together except for the top envelope and used the vintage lace as a closure. 


We had so much fun making this! We'll definitely be making more of these in the future! Thanks for dropping by! Scroll down further to see a video of this keepsake box!


Monday, February 13, 2012

Prima Printery Bird Mini!!!!

So I've had this bird chipboard mini hanging around our scrap room. And its been calling my name to alter. Yet it wasn't until two days ago that I decided to finally give it some life!! So I decided to cover it with the beautiful paper collection by Prima, called Printery Collection. So I gathered my goodies and just worked and worked until it was done!! When I was gluing things down I kind of just didn't really put much thought into where everything was going to land. I love it when I just go with flow...... I call it "Scrap Improv!!" I drew some wings on a piece of chipboard and cut it out to see if it looked good. I made two wings and I love how it gives the covers some dimensional interest!! I did some stamping, and some major distressing! Four different colors to be exact. I first layed down the Tea Dye and went further into the edge of the page, next came Frayed Burlap a little closer to the edge, on top of that came Vintage Photo, then the darkest color Black Soot. I have never done this but I loved the look..... Oh yeah your going to see more of that technique!!! I made the vellum pocket pullout  for more real estate, since of course it was small to begin with.


I hope you like it!! And if you have this birdie lying around your scrap room, I hope this inspires you to create your own!!!! Follow us on Facebook, and YouTube for more projects!!!! Have a blessed day...

-Natalie

Wednesday, February 1, 2012

Gatsby Flowers!

I made these flowers, I enjoyed making them I made 34!!!!! Dont ask why not 35, it just happened that way when I cut the material. They were such a cinch to make!!! I loved the Prima ones I bought, but I used them up from my stash and decided I wanted to try making them. So instead of using seam binding, I have lace material on hand instead and so I decided to use lace. And OMG, once I got a taste of making them. Geez I was hooked!!! I love the vintage look of these flowers.


On these ones I decided to finish them off with some feathers. I love the vintage,organic look. I like that they look sort of "purposely messy". I hope you enjoyed mine, and decide to try making some. They're so much fun to make!!!!- Natalie

Wednesday, September 7, 2011

Shabby Chic Altered Jewelry Box

Hey everyone! Just wanted to share with you one of our projects that I've recently finished! A couple of weeks ago, my sister and I went...well...just a bit crazy when we went to go hit up our local thrift stores trying to find things to alter. Needless to say we came back with LOADS of goodies that were just BEGGING to be altered. We happened to find three old jewelry boxes that were actually in pretty good condition, despite that they were all missing one single drawer knob! That's o.k. though, we always find a quick way to fix it up!

So to start off, this is one of the jewelry boxes and I knew IMMEDIATELY that I wanted to alter this white jewelry box in a shabby chic style, since the lining of the drawers were a pink suede. The paper collection I used on the box were Pink Paislee's Butterfly Garden. I am just lovin' this collection!


At the top of the jewelry box is a porcelain cherub that my mother had given me a couple of Christmases ago. I love taking random pieces of jewelry, or in this case, sentimental pieces and adding it to projects because it's like adding a little piece of myself into my projects! 


Hope you guys enjoyed checking out our newest project! If you would like to see a video on this project, click below!


- Cydney


Monday, August 29, 2011

Bird Pin Cushion!!!


Hey everyone!!! I got another project done!! This one is for a scrappy friend on The Scrap Beach ning site!!! Its a pin cushion. I decided to try making one because I was so sick of those ugly tomato lookin ones that you buy from the store. This ones made of 3 used ribbon spools stacked and glued together. I cut in half a foam styrofoam ball (use the soft ones it makes pushing this pin in easier!!!), then covered it with scrap fabric. I covered the sides of the ribbon spools with DCWV Ciao Bella Paper.  I lined the top edge with lace to hide any gaps between the foam ball and the ribbon spools.  Lined the bottom and top edges with pearls. My mom crocheted the doily and I glued it down. I cut a piece of chipboard to line the back and adhered a compact mirror. Placed it in behind the foam ball and glued it down. I decided to decorate the edges of the mirror by stamping some bird image and bird cage on paper and adhered that to chipboard. Then glued that piece with E6000 to the mirror. I also decorated the sides with I Am Roses R4-60, Michael's Christmas purple pick pieced together to create the look of branches.  I had so much fun doing these. I've made two already. I dumped my memory card and deleted the pics of the other pin cushion. Duh!!! Anyways the theme of this one was Shabby Chic Birds!!! I hope to get pics of the other one and then of course I'll show that one too ya too!!! Have fun riding the wave of creativity!!!! Try making one its awesome!!! -Natalie

Saturday, August 27, 2011

Eiffel Tower!!!!! Le Paris

 Here is a gift for my Mom's Birthday!!! Its a plywood Eiffel Tower from Michael's that I painted and primed with Khaki Tan by Americana Paints. My sister Cydney outlined the structure and I hot glue gunned the lines to make the structure stand out. She primed the lines with gray paint and went over the lines with Antique gold Rub and Buff.  Then I mod podged Bo Bunny Et Cetra Paper and vintage music sheets I got in a swap from Mataya!!! Thankx Taya!!! I put lace along the tier sides and just started decorating it!!!

 I filled up the spaces with I Am Roses, G45 cutouts and Tim Holts metal pieces, K&Co lady, Michael's spray, and just had fun filling up the sides.
                             The I am Roses I products I used are......
                             R 77 - 609- Light Purple and White
                             R 4 - 50- Mini Peach (Altered in various colors)
                             R 40 - 526- Large Peach/Pink
                             R 21 - 518- Medium White/ Pink (Altered in various colors)
                             R 77 - 518- Large White/ Pink Roses (Altered in Teal)
 I'm new to Lindy Stamp Gang. I just purchased a starter kit. I saw Arlene's(Mybutterflykisses12) video on the new Lindy's colors.... and fell in love with Drink Me Up Silly Kit so I purchased that one to start off our collection. Well I'm hooked!!! The colors are unbelievable. I only have a few colors of glimmer mist and the bottles always clog and I hate stopping and loosing my creative wave to stop and unclog the sprayer. So decided to try Lindy's. Well I have to stock up on colors because my last order made me hungry for more colors!!!!
                 I used ... My Mojito Green,
                                Dark Chocolate Truffle
                                A Bit O' Bubbly, Cosmopolitan Pink, Fuzzy Nave Peach
                                ( in that order on R 21 - 518)
                                and TA Bahama Blue GM on R 77 - 518
I loved creating this and I'm hoping to go back and get another Eiffel Tower.... It was so much fun. Thanks for visiting ... Come back soon to see what other projects we have going!!!! -Natalie